What is actually wrong, and what to do
Aluminum branch wiring was used in a meaningful share of homes built in the late 1960s and early 1970s, including a fair number of Seattle homes. The wire itself does not fail. The connections to outlets and switches fail because:
- Aluminum and brass expand and contract at different rates, so connections can loosen over time.
- Aluminum oxidizes faster than copper, which raises resistance at the connection.
- A loose, high-resistance connection heats up, and over time that heat is a fire risk.
There are two ways to address it:
Path 1: Replace the devices (CO/ALR remediation). Replace every outlet and switch with devices rated for aluminum wiring (marked “CO/ALR”), treat the connections, and torque them properly. This directly addresses the failure point, the connection, and is the more affordable path. Most insurance carriers accept it.
Path 2: Full re-pull. Replace the aluminum branch wiring with modern copper throughout the home. More involved and more expensive. Some carriers specifically require it.
For most homeowners, replacing the devices is the right answer, because it fixes the actual failure mechanism at a fraction of the cost of a full re-pull.
How to tell if you have aluminum wiring
Three checks:
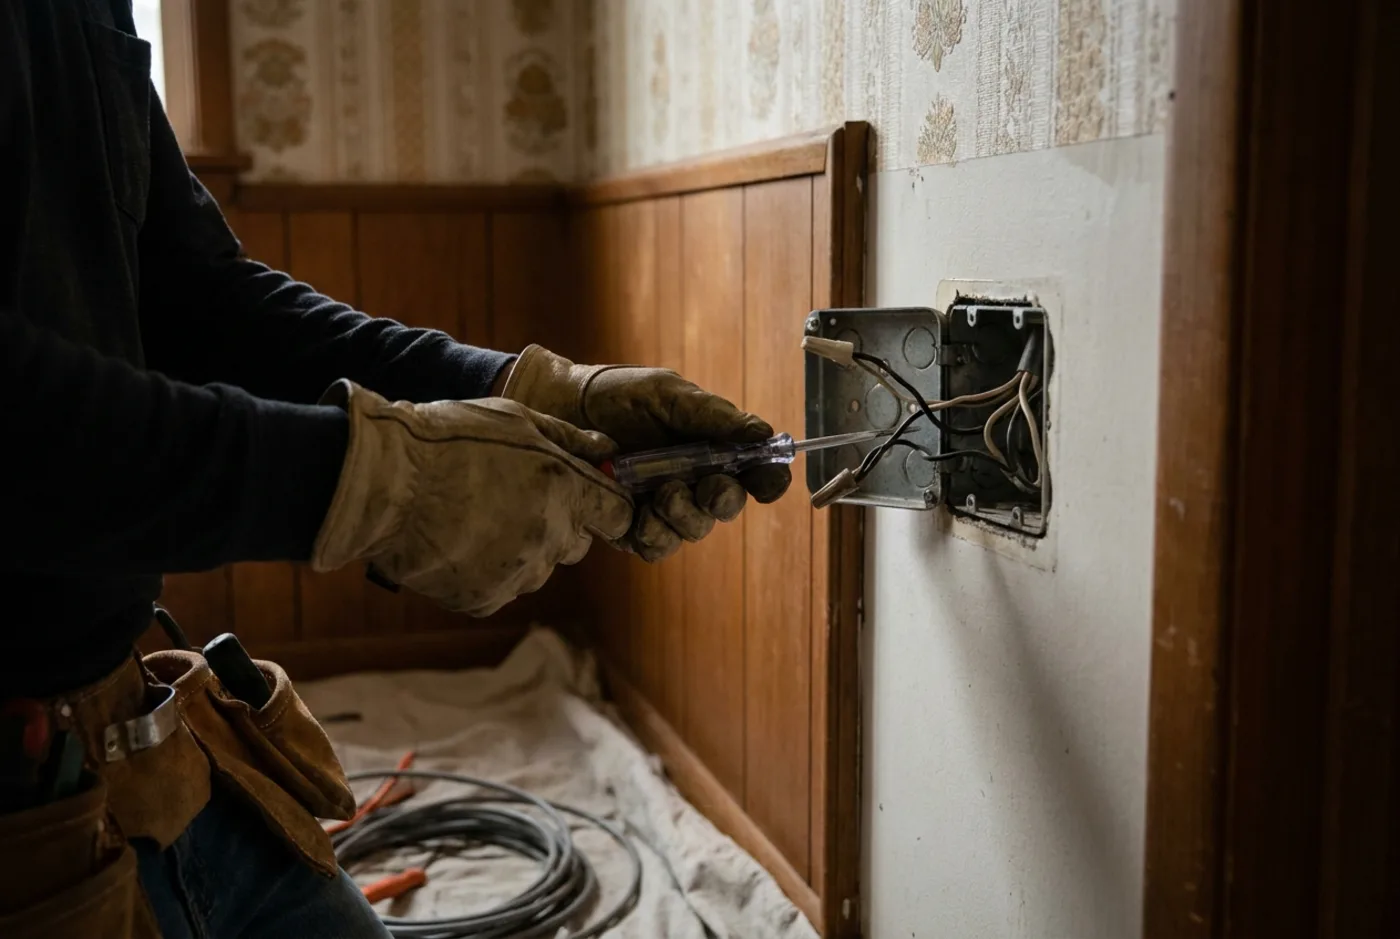
Look at the wire markings. With the power off, open an outlet or switch box and look for “AL” or “ALUMINUM” stamped on the wire near where it enters the box. “CU” or “COPPER” means copper.
Check the build year. Most aluminum branch wiring went into homes built between 1965 and 1972. After that, copper became standard again.
Check the devices. Outlets and switches rated for aluminum are marked “CO/ALR.” If your devices are not marked that way and your home is from that era, you may have aluminum on standard devices, which is the situation to address.
The real safety risk
Aluminum branch wiring is not a guaranteed fire hazard, but the failure rate at connections is higher than with copper. Warning signs to watch for: warm or hot outlet covers, outlets that lose power intermittently, scorching or melted plastic on outlet faces, and flickering lights. The risk is highest on heavily used circuits, like the kitchen and laundry, and lowest on lightly used ones.
The two paths in detail
Path 1: Replace the devices (CO/ALR remediation)
What we do:
- Replace every outlet and switch with devices rated for aluminum wiring.
- Apply an antioxidant compound to the aluminum connections to prevent oxidation buildup.
- Torque every connection to the manufacturer’s spec, using calibrated tools rather than “tight enough.”
- Document the work with photos and specs for your insurance.
This is the path that works for most homes and most carriers. Always confirm with your specific carrier before starting, since requirements vary.
Path 2: Full re-pull
What we do:
- Remove the aluminum branch wiring.
- Run modern copper throughout.
- Bring outlets and switches up to current code, including protective devices required by Washington code.
- Patch the drywall where access cuts were needed.
This is more time-consuming and more expensive, and is the right path when your carrier specifically requires it.
The insurance reality
A few patterns we see:
- Most carriers accept the device-replacement path when it is documented properly, with photos and connection specs.
- Some new policies require a full re-pull. When shopping for new coverage on an aluminum-wired home, some carriers will not write a policy even with the devices replaced. Confirm with the carrier you are considering.
- Surcharges happen. Some carriers add a premium for aluminum-wired homes compared to copper-wired ones, even after remediation.
Because requirements differ by carrier and even by individual policy, the single most useful thing you can do is call your carrier and ask what they require before you start.
What we always do
- Detail-focused work, since torque, antioxidant application, and connection technique are what make the repair last.
- Antioxidant compound on every connection.
- Proper torquing with calibrated tools.
- A documentation packet: before and after photos, connection specs, permit number, and inspection date. Insurance-ready.